Solution Area
Industry
Data Type
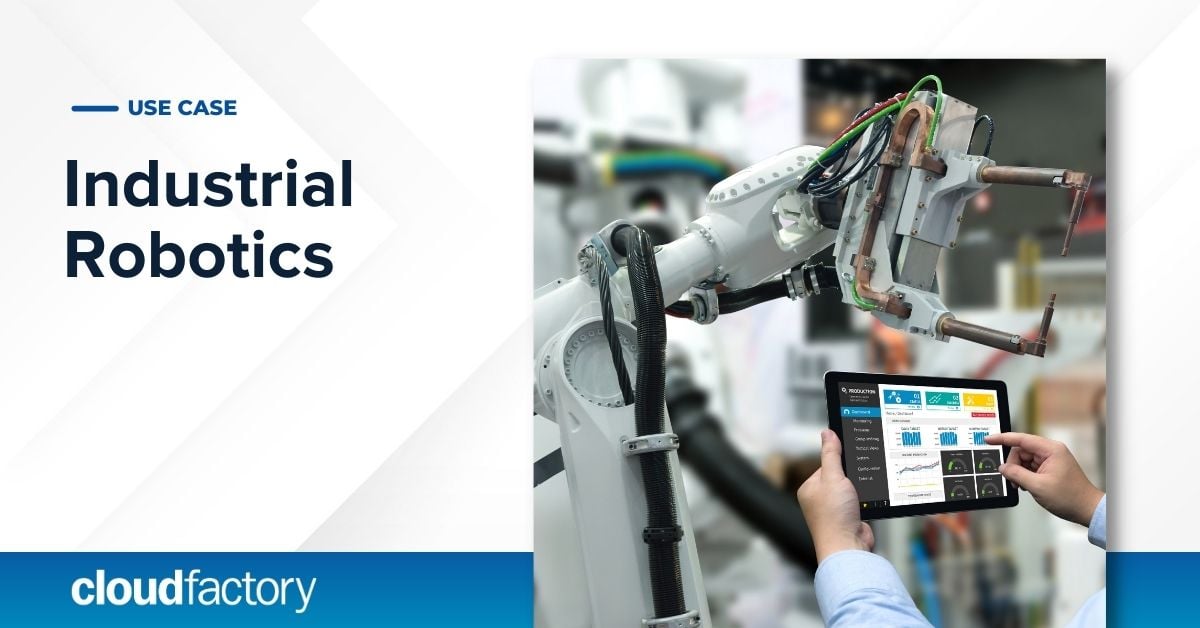
Industrial Robotics
Vision AI labeling enables industrial robotics algorithms to efficiently enhance productivity and worker safety.
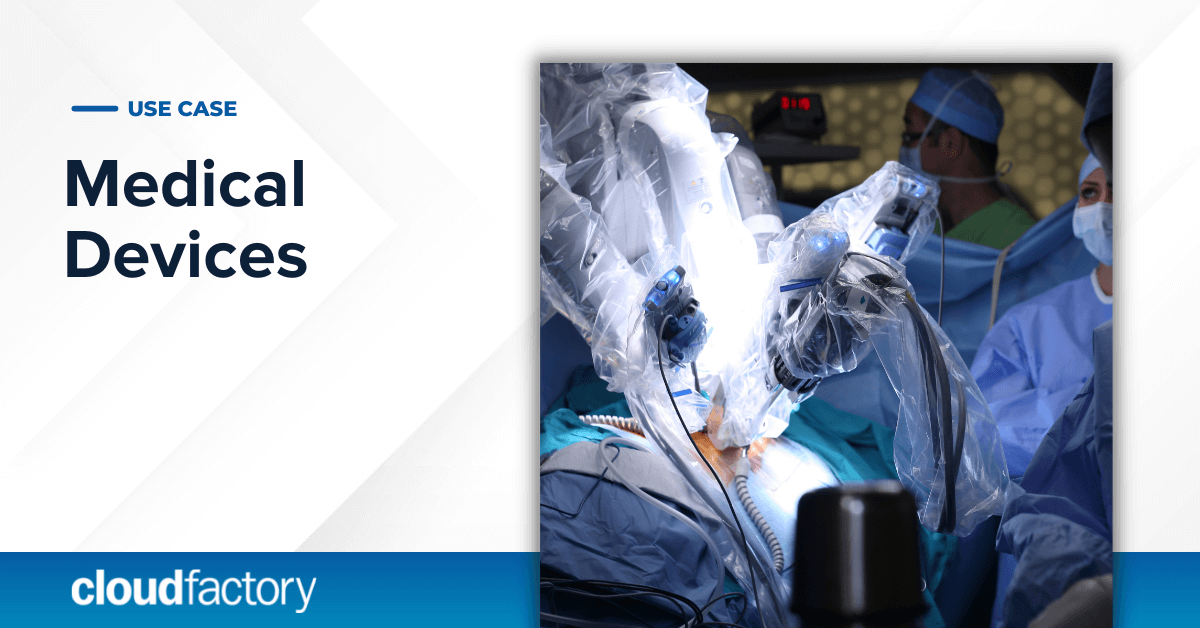
Medical Devices
Precise image annotation enables accurate AI object recognition for health-monitoring and robotics applications.
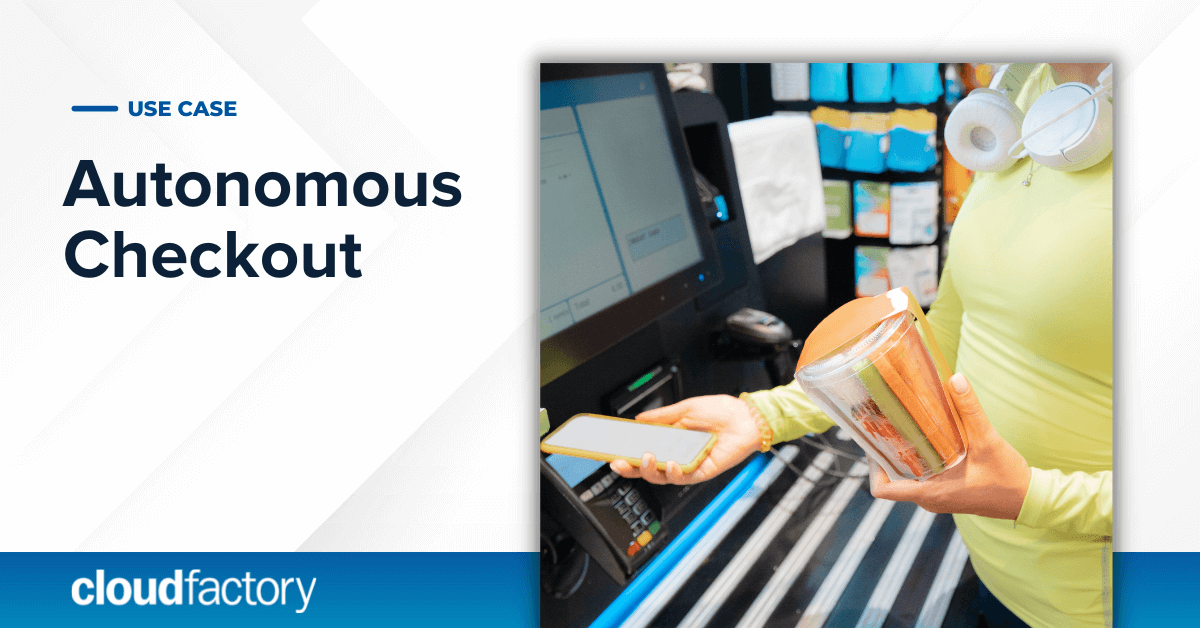
Autonomous Checkout
Our data labeling workforce trains and sustains AI models that power cashierless checkout and grab-and-go technology.
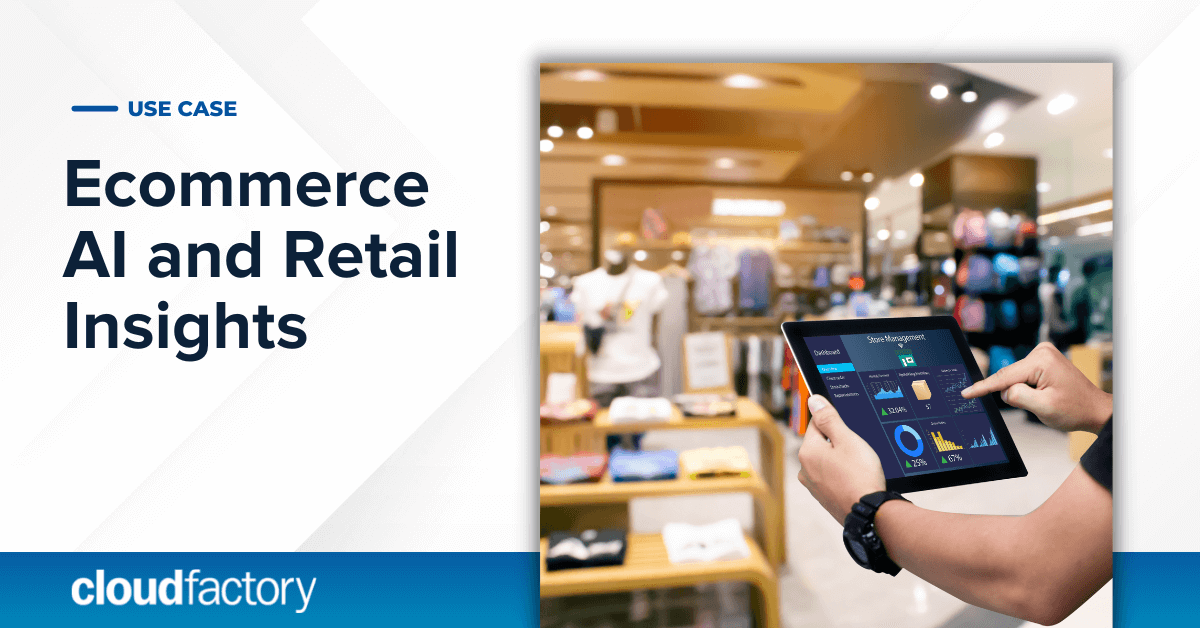
Ecommerce AI and Retail Insights
Enable contextual and optimized product search, dynamic pricing, fraud detection, and other retail intelligence.
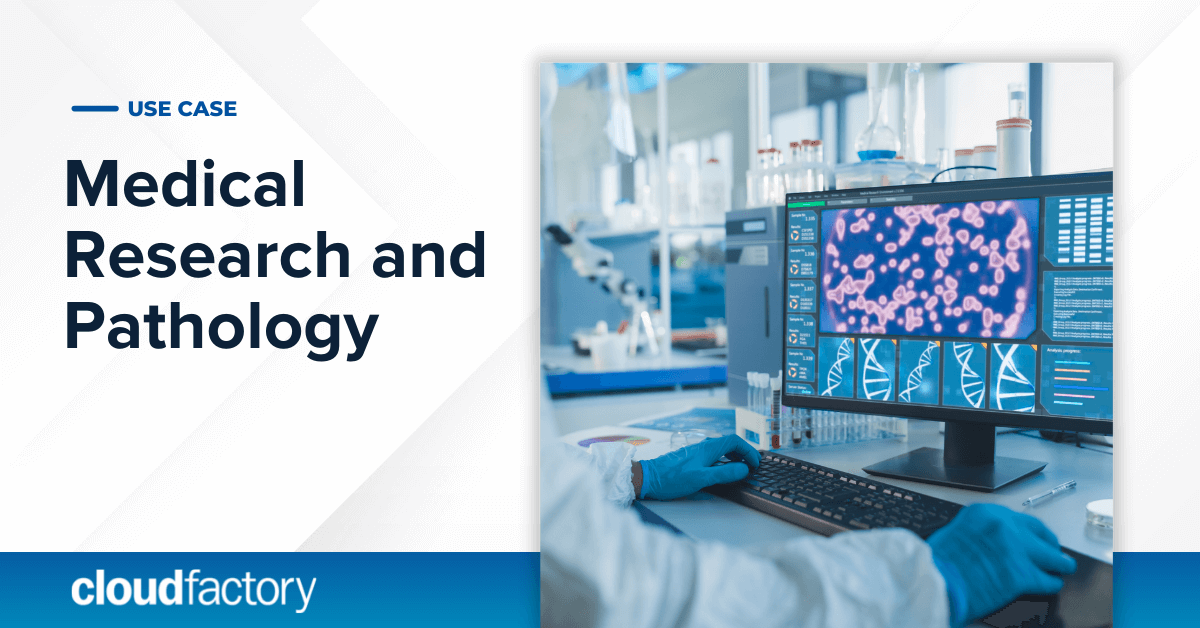
Medical Research and Pathology
Advances in AI applications for disease studies and drug development depend on accurate tissue and cell image annotation.

Receipt Transcription for Retail Automation
Get fast, affordable receipt transcription and moderation for cashback rewards programs and other retail applications.
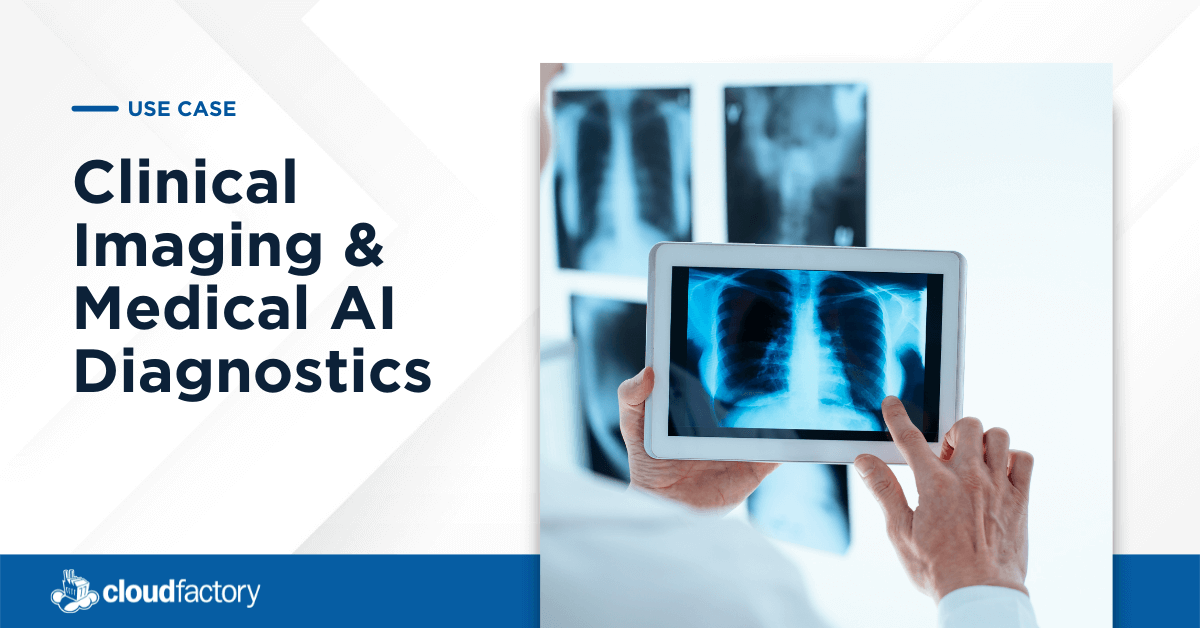
Clinical Imaging and Medical AI Diagnostics
Quality clinical image annotation enables highly accurate AI diagnostics and eases the burden on medical professionals.
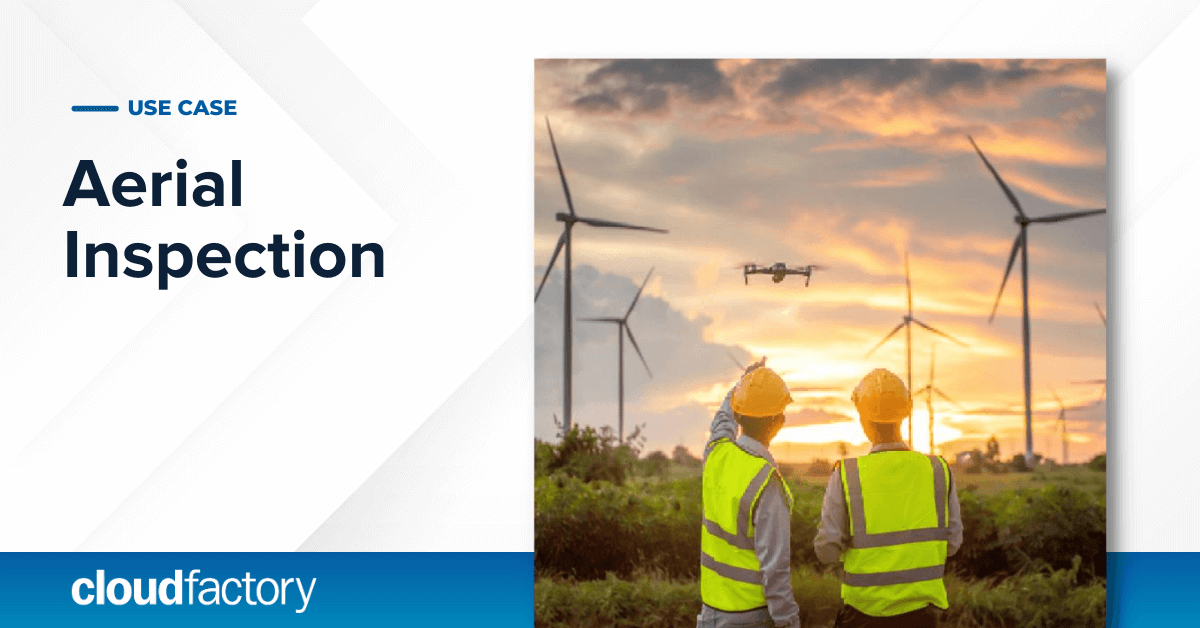
Aerial Inspection
Need help prepping aerial inspection data to scale operations and increase ROI? We've got you covered.
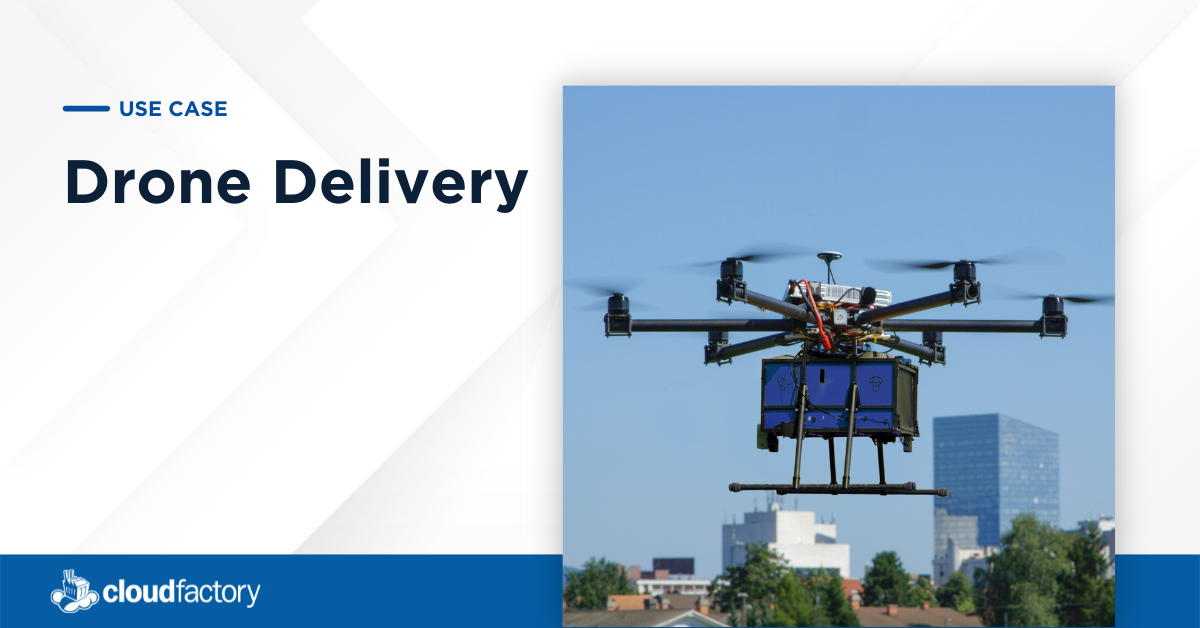
Drone Delivery
An expert workforce will prep the image, video, and LiDAR data you need to scale your BVLOS drone delivery operations.
Insurance Data-Driven Decisioning
Got insurtech big data? We help you digitize and enrich it for AI/ML to innovate, compete, and improve business outcomes.
Insurance Underwriting Automation
Drive innovation, implement automated underwriting, and grow your business fast with CloudFactory’s managed workforce.
Autonomous Trucking
Need to prep model-training data for long-haul trucking and last-mile delivery? Consider an AV-centric workforce.
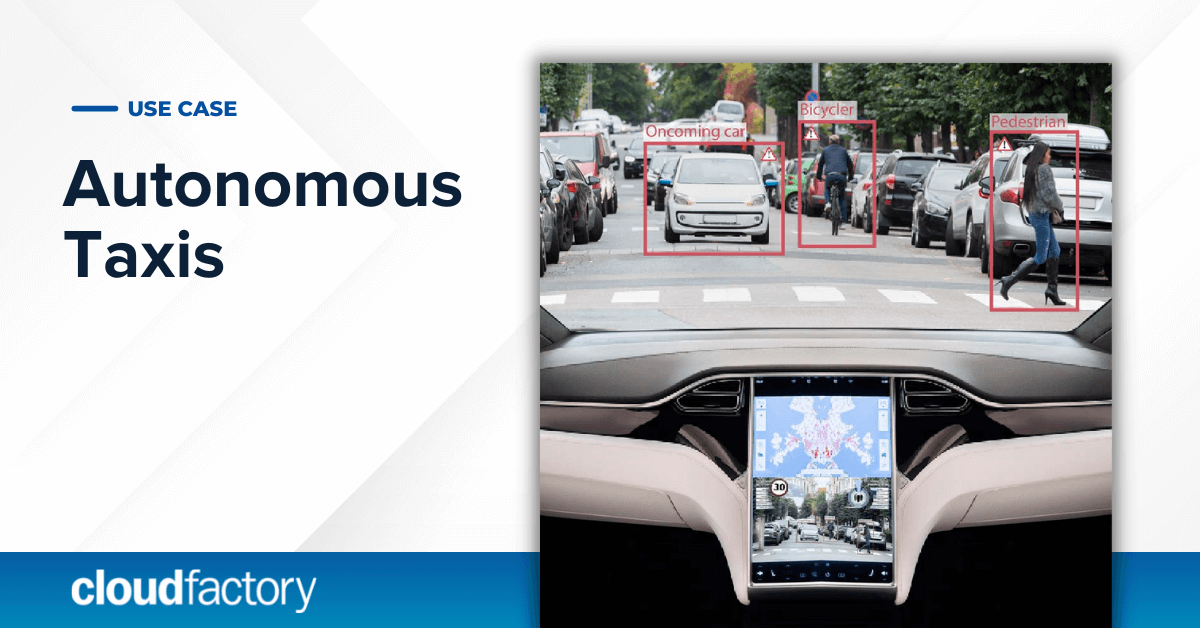
Autonomous Taxis
Autonomous taxi companies lean on AV-centric workforces to prepare the mountains of data required to train AV models.
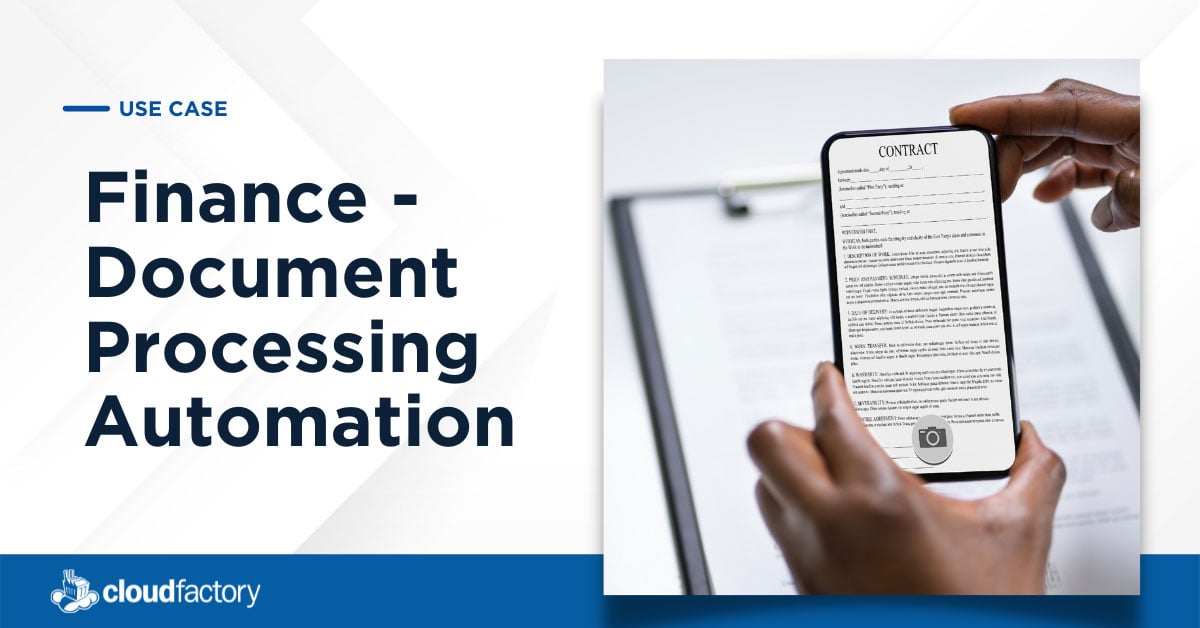
Finance - Document Processing Automation
You built your platform to automate document processing. Learn how we work behind the scenes to help you scale it while delivering high quality and performance.
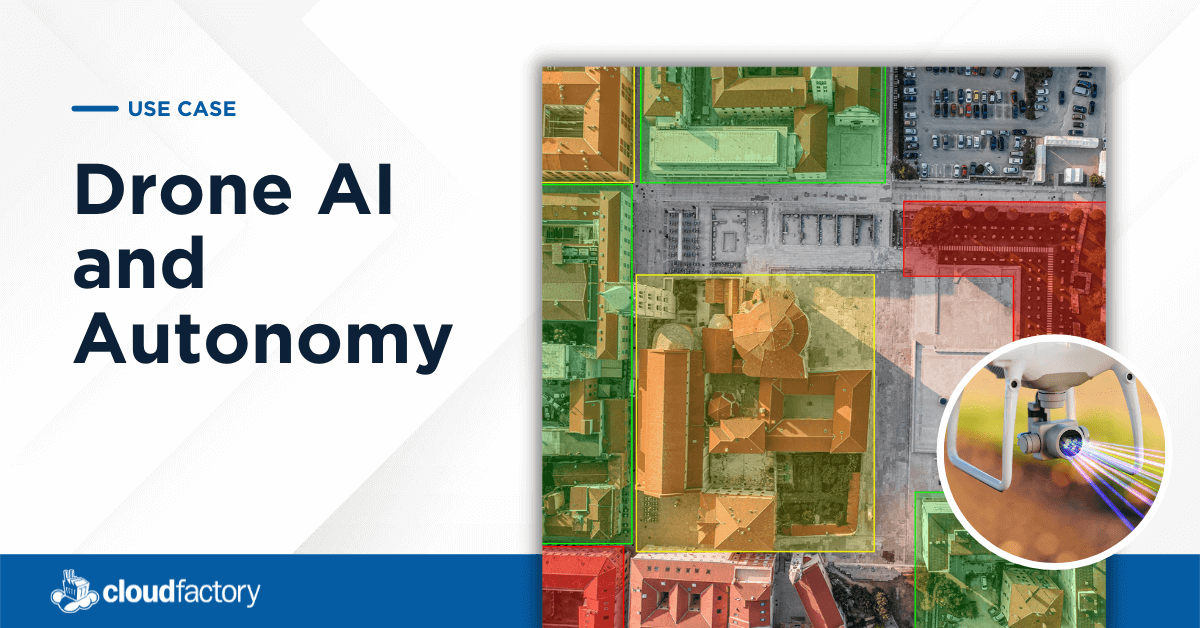
Drone AI and Autonomy
Drone companies around the world are using autonomy and computer vision to significantly enhance the capabilities and applications of drones.

Marketing and Advertising
Big data is transforming and improving the art and science of marketing in the age of ecommerce.

Manufacturing and Logistics
Manufacturing technology is providing organizations around the world better insights and more control over logistics.

Legal Automation
Legal professionals are turning to technology and automation to help them make better, faster decisions for their clients.

Geospatial Applications
Geospatial data analysis provides organizations with actionable intelligence about the visual world.
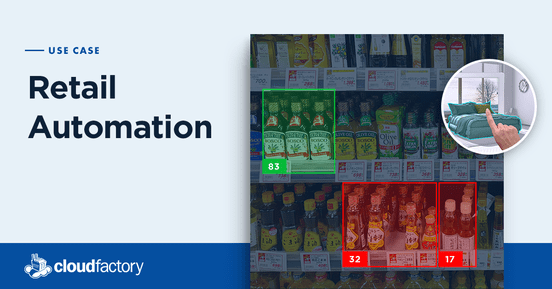
Retail Automation
As customer expectations evolve, companies are turning to AI to make the retail experience more convenient and customized.
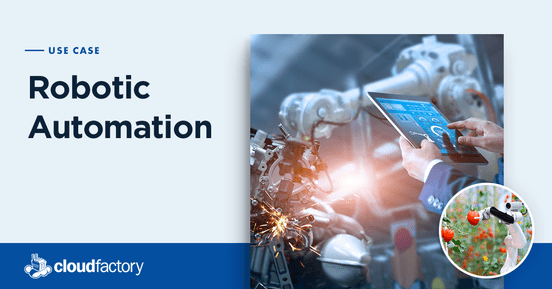
Robotic Automation
The combination of AI and robotics can improve outcomes in healthcare, agriculture, manufacturing, and more.
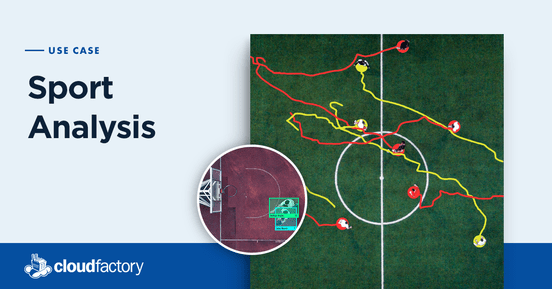
Sports Analysis
Athletes, coaches, and fans are turning to AI-powered solutions to get the most out of game day footage.

Customer Service Automation
Businesses of all kinds are scaling customer service with the help of robust, well-trained chatbots and virtual assistants.
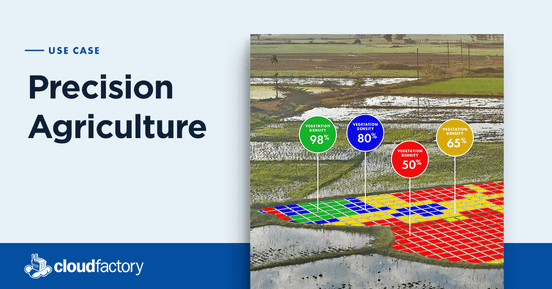
Precision Agriculture
Technology holds great promise for solving the many challenges and inefficiencies in the production and distribution of food.
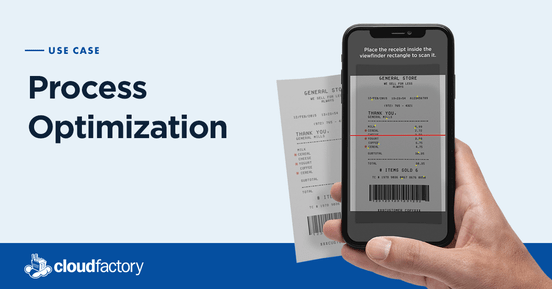
Process Optimization
Savvy businesses are turning to solutions like CloudFactory to help them achieve efficiency in core functions.

Remote Learning
The age of remote learning is here, with it comes the need for technology to support online or hybrid education experiences.

Customer Service Support
Customers expect timely support and responses from the brands they use, which often requires the action of real humans.
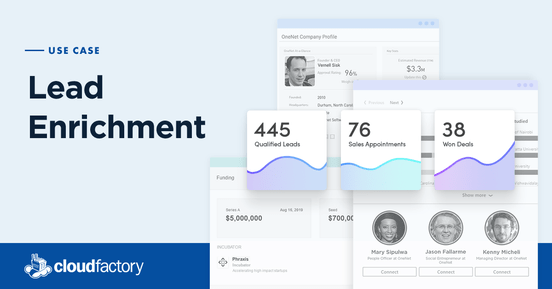
Lead Enrichment
Accurate, up-to-date contact information is central to the success of sales and marketing teams.
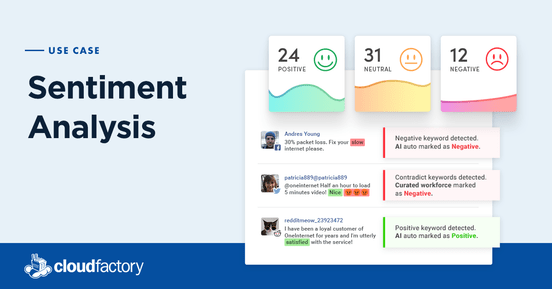
Sentiment Analysis
Companies are applying sentiment analysis to turn the abundance of online information into actionable insights.

